
Care topic
How to Propagate Monstera: Water, Soil and Air Layering Methods
Propagate Monstera deliciosa from stem cuttings in water or soil. Learn where to cut, how long rooting takes and common mistakes to avoid.
5 min read
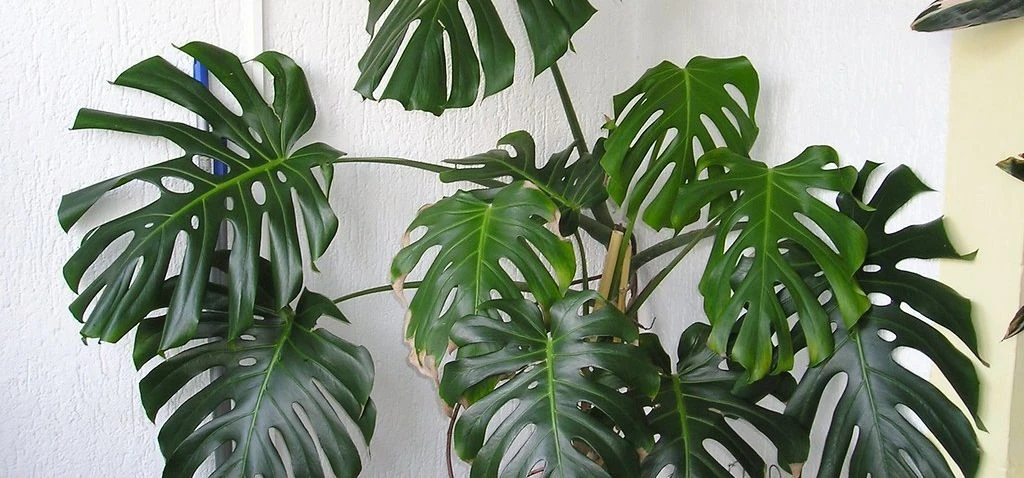
Step-by-step methods for propagating Monstera
Monstera deliciosa propagates almost exclusively from stem cuttings: seed is rarely available commercially and seedlings take years to reach a useful size. Three methods work reliably: water propagation, soil propagation, and air layering. Water propagation is the most popular with beginners because root development is visible through the glass. Take a stem cutting 15-25 cm long that includes at least one node (the slightly swollen bump on the stem where roots will emerge) and one leaf. Use a sharp, sterile blade: a clean cut introduces fewer pathogens. Allow the cut end to callus over for 30-60 minutes, then place it in a clean glass or jar with enough water to cover the node but not the leaf. Set it in bright indirect light at 20-25 °C. Change the water every 5-7 days. White stubby roots appear in 3-6 weeks during spring and summer.
Soil propagation skips the water-to-soil transfer step entirely. Prepare a mix of 60% perlite and 40% potting soil (drier and more free-draining than standard aroid mix) for this initial rooting stage. Dip the cut end in rooting hormone powder, insert 3-5 cm into pre-moistened mix, and cover with a clear plastic bag or humidity dome. Maintain 70-80% relative humidity inside the enclosure and bright indirect light. Roots establish in 4-8 weeks. You know rooting has occurred when the cutting resists a gentle tug and produces a new leaf. Air layering is best for large, mature stems where you want to propagate without fully separating the cutting until roots are already formed. It greatly reduces transplant shock but requires sphagnum moss and patience, typically 4-8 weeks.
Required materials and tools for successful propagation
A sterile, sharp blade is the most important tool: a dull or dirty blade crushes and infects the cut surface before roots can form. Sterilise with 70% isopropyl alcohol before each cut. For water propagation: a clear glass or jar, clean water (filtered or standing tap water), and a position in bright indirect light. For soil propagation: perlite, standard potting mix, rooting hormone gel or powder, and a clear humidity dome or large plastic bag. Rooting hormone is not strictly required for Monstera (the node contains natural auxin that stimulates root formation), but it can improve the speed and reliability of rooting, particularly for cuttings taken in autumn or winter when temperatures are lower.
A heat mat set to 22-25 °C at the base of the propagation vessel helps speed up winter rooting by maintaining an optimal root-zone temperature even when room air is cooler. It is especially useful in winter, when rooting is slowest. Label each cutting with the date taken. This allows you to assess whether rooting is proceeding normally or whether intervention is needed if there is no progress after the expected timeframe.
Care tips after propagation for healthy growth
Pot water-rooted cuttings into soil when roots reach 3-5 cm in length. Do not wait for roots to grow longer: beyond 5 cm they become more brittle and prone to snapping during transfer. Pot into standard aroid mix (not the high-perlite propagation mix) in a pot sized to just accommodate the root mass. Expect a transition period of one to two weeks where the cutting may look slightly stressed as roots adapt from extracting oxygen from water to drawing it from air pockets in the potting mix. This is normal and not a cause for intervention.
For the first six weeks after potting, keep the cutting in bright indirect light at temperatures above 20 °C and maintain humidity above 60% if possible. The first new leaf the cutting produces confirms that the root system is established and functioning. Do not fertilise until the cutting has produced its first new leaf; the fresh potting mix contains adequate nutrients and immature roots are easily damaged by additional fertiliser salts before they are fully established. Once the first leaf appears, transition to a standard Monstera care routine: monthly fertiliser at half-strength during the growing season.
Common mistakes to avoid when propagating Monstera
Cutting without a node is a common and fatal propagation mistake. A Monstera stem without a node cannot produce roots regardless of how long it sits in water or soil: the node is the point where roots originate. Before making any cut, identify the nodes (the brown-cream bumps on the stem just below each leaf attachment point) and ensure at least one is included in the cutting. A cutting with a leaf but no node will stay green for weeks and then die without ever producing a root.
Placing cuttings in direct sun is another common failure: leaves scorch before roots develop, and the cutting loses water it cannot replace. Bright indirect light is the correct environment for all propagation methods. Skipping water changes during water propagation allows bacterial populations to build in the water, attacking the cut surface before roots emerge. Change the water every 5-7 days without fail. Taking cuttings in autumn and expecting the same rooting speed as spring is another source of disappointment: cuttings taken in October can take 8-12 weeks to root instead of 3-6 weeks and are more vulnerable to rot in the interim.
Self-check
Your routine, health score
Five quick yes/no questions. Each "yes" earns a point.
Plan ahead
Seasonal tasks
What to do across the year, tick what you've already taken care of.
More care guides for monstera deliciosa
Other topics for the same plant.