
Care topic
How to Repot Monstera: When to Do It and How to Avoid Root Shock
Repot Monstera every 1 to 2 years in spring. Learn the signs it's time, the right pot size, the best mix and how to care for it afterwards.
5 min read
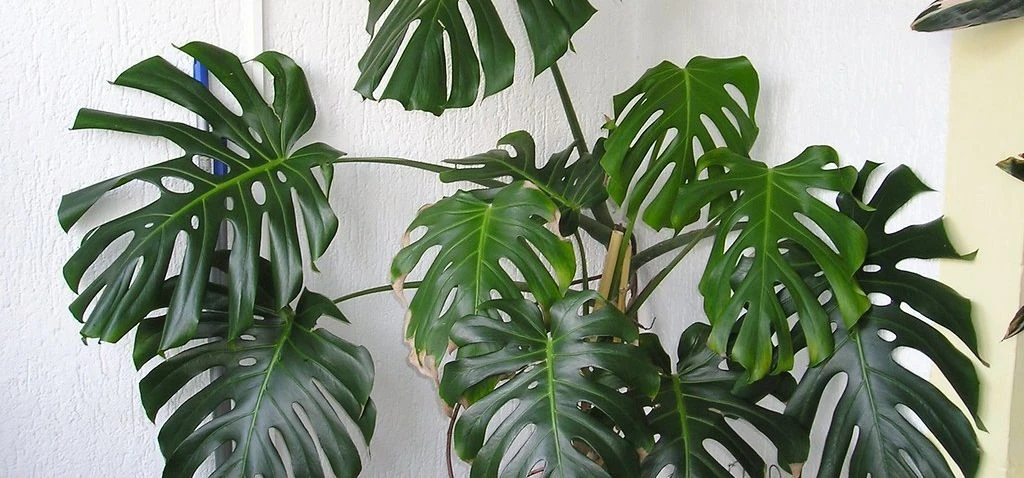
Choosing the right pot and soil for Monstera
The pot you choose for Monstera repotting has a direct effect on how often you need to water and how well the roots stay aerated. Terracotta pots are the preferred choice for most growers: the porous walls wick moisture out of the soil, providing a natural buffer against overwatering and creating a faster drying cycle that Monstera roots prefer. Plastic and glazed ceramic pots retain moisture longer, suitable for experienced growers who water conservatively, but less forgiving for beginners. Whatever material you choose, drainage holes are non-negotiable: a drainage hole that is too small and becomes blocked by roots is as problematic as no hole at all.
Choose a pot 2 to 5 cm wider in diameter than the current one. Moving up more than one size introduces excess soil volume that stays wet long after the root mass has extracted its share of moisture, significantly increasing root rot risk. For the potting mix, use a chunky aroid blend: 40% standard potting soil, 30% perlite, and 30% orchid bark. This drains fast, holds adequate moisture, and keeps the air pockets that Monstera's semi-epiphytic roots require. If you are adding a moss pole at repotting time, position it before adding soil so you can anchor it at the base of the pot for maximum stability.
Step-by-step instructions for repotting Monstera
Water your Monstera 24 hours before repotting: moist root balls slide out cleanly and suffer less physical trauma than dry, contracted ones. Lay the plant on its side, cover the drainage hole with one hand, and slide the plant out by gripping the base of the stems. If the root ball is very compacted and doesn't slide, run a clean knife around the interior edge of the pot. Once out, gently loosen the outer root mass with your fingers to free any circling roots and inspect the root system throughout. White, firm roots are healthy; brown, slimy roots indicate rot and must be cut back to clean white tissue using sterile scissors before proceeding.
Add a layer of fresh aroid mix to the new pot, position the plant so the soil level will sit 2 to 3 cm below the pot rim (to allow for watering without spillage), and backfill around the root ball. Firm the mix gently with your fingers to close large air gaps without compacting it. Water slowly and thoroughly until water drains freely from the hole, which settles the mix around the roots. Keep the plant in bright indirect light but away from direct sun for two weeks while the disturbed roots re-establish. Do not fertilise for four to six weeks: fresh potting mix contains adequate nutrients and newly disturbed roots cannot efficiently process additional fertiliser.
Signs your Monstera needs repotting
The clearest physical sign is roots emerging from the drainage hole or visibly circling the inside wall of the pot. Roots forced to circle develop kinks that restrict water and nutrient flow even after repotting into a larger container. A secondary indicator is the watering pattern: a severely root-bound Monstera dries out unusually fast because the dense root mass absorbs water almost as quickly as it is applied, and you may find yourself needing to water every three to four days even in moderate conditions. The plant may also tip or become top-heavy as the aboveground mass outgrows the pot's ability to anchor it.
Stunted growth during the growing season (no new leaves between March and September despite good light, correct watering and regular fertilising) is a reliable sign that the root system has run out of space to expand. Check the roots annually each spring by gently removing the plant and inspecting the root ball; if roots have filled the pot completely and you can see no visible potting mix between them, it is time to move up. Monstera generally needs repotting every one to two years in active growth conditions. For the rest of its routine, see our complete Monstera care guide.


Care tips after repotting Monstera
Brief wilting in the 24 to 48 hours after repotting is normal: it is a transplant response as roots reorient in the new medium, not a sign that the repotting went wrong. Place the plant in bright indirect light without direct sun exposure during this adjustment period. The light accelerates root re-establishment while avoiding the additional stress of sun scorch on a plant whose water uptake is temporarily reduced. If the plant wilts significantly and does not recover within 48 hours, check that the new potting mix was adequately moistened and that the pot is draining correctly.
Resume normal watering based on soil checks once the initial settling watering has dried. The first new leaf after a spring repot is the clearest confirmation that the root system has adapted to its new environment. This first post-repotting leaf is sometimes smaller than the previous one, which is normal; subsequent leaves produced in the new pot will reflect the improved root space and resume normal or larger size.
Self-check
Your routine, health score
Five quick yes/no questions. Each "yes" earns a point.
Plan ahead
Seasonal tasks
What to do across the year, tick what you've already taken care of.
More care guides for monstera deliciosa
Other topics for the same plant.